
Laurence Boissieux Homepage
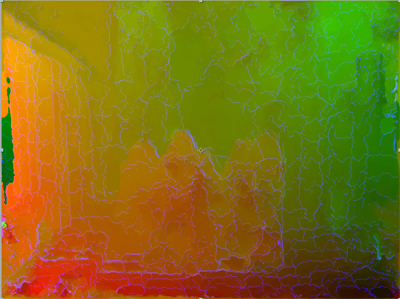
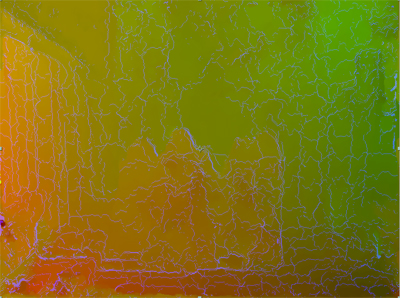
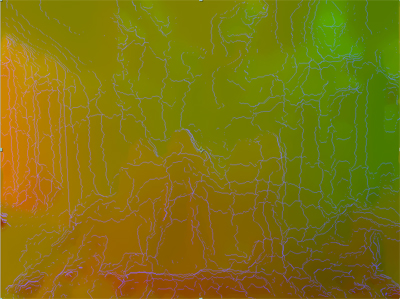
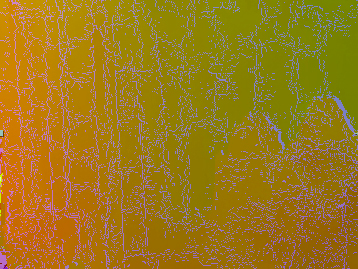
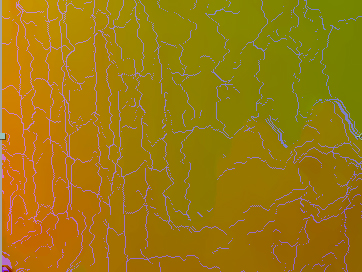
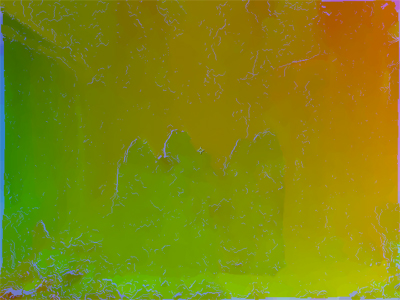
In order to compute the advection, we will need to compute the optical flow of the source in both foreword and reverse sense. The result will be 2 videos, where the velocity is stored in each pixel color at each frame. RGB = 128 means that the fragment at this pixel has a nul velocity. R stores Vx and G stores Vy (B is always 0). Negative values are expressed on [0..128[ and positive ones on ]128..255].
Computation for a video source
Real videos must have the best quality as possible to get good results.
- Install Optical Flow plugin for After Effect
- Create a new composition by importing your source, let's say Name.avi
- Put the timeline cursor on a frame where there's a quick motion (NOT ON THE FIRST NOR LAST FRAME!!!!) to be able to set up parameters
- Apply the Optical Flow effect:
Menu > Effect > Sample plug-in > Optical_Flow
- The amplification coefficient (called K) allows to amplify velocity
vectors for slow motions. Values can be set between 1 and 10. Activate the
effect to see the result. If the image is saturated (very contrasted parts)
then the coefficient is to high and has to be decreased.
k=10 : left part contains saturation k=6 - Global smoothing: default is 50%
Global smoothing=100% details are lost Global Smoothing=50% - Local smoothing: default is 100%
- Smoothing iterations: good values are 5 or even 10 to avoid noisy
images, but the computation time increases with the number of
iterations
Smoothing iterations=0% flow is noisy Smoothing iterations=20% - Error threshold: motion is ignored below this value. Default is 20 for regular, not too quick nor too slow motions. Increase the value for slow motions.
- Direction: the sense of the optical flow, default is backwd, for a left-to-right
reading (we use the frame before to compute the velocity of current
frame). Forewd is the inverse of Backwd.
Backwd Forewd
- The amplification coefficient (called K) allows to amplify velocity
vectors for slow motions. Values can be set between 1 and 10. Activate the
effect to see the result. If the image is saturated (very contrasted parts)
then the coefficient is to high and has to be decreased.
- Exclude first and last frame from the sequence to render
- Perform the rendering [ctrl][M] and call the file Name_K_oflow_bck.avi, where K is the amplification coefficent value used.
- Then set Direction to forwd and render a file called Name_K_oflow_fwd.avi
Computation for a 3DMax animation
Once again, don't forget to render 2 additionnal frames, one before and one at the end for the original animation.
- Install the VelocityToRGB plugin for 3DSMax
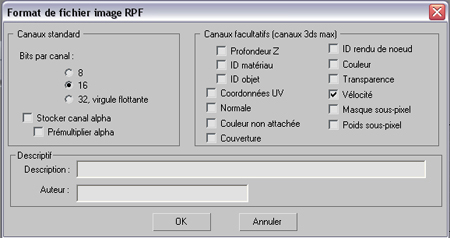
- Render your animation into RPF to get the velocity
Render > Choose RPF format > check 16 bits per canal, Velocity, Uncheck Store alpha
- Convert RPF files to RGB images sequence using VelocityToRGB
Command Panel > Tools tab > Other button > VelocityToRGB
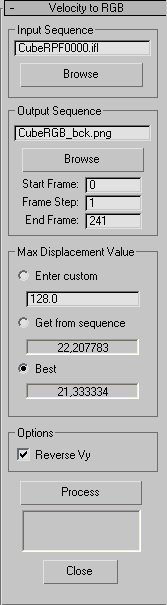
- Click Browse to chose the Input Sequence. Don't forget to check "sequence" in the Open RPF file Dialog.
- Click Browse to specify the Output Sequence. Chose PNG, 48 bits (or another lossless format but DON'T USE JPG!!!!) Call the images NameRGB_bck
- The advice is to first select "Get from sequence"
which will give the real maximum pixel displacement Kr (this may take a
while as it runs the entire RPF sequence). It then proposes a
"Best maximum displacement" Kb = 128/K, where K will be the
amplification coefficient used in advection plugin. K is E(128/Kr)
restricted to [1..10], then select "Best". In our case
K = 128/21.333334 = 6. - Check Reverse Vy to get directly images for the backwd optical flow
- Click Process to produce the images
- Convert the images sequence into a video file: the back optical flow
- Open AfterEffect
- Import NameRGB_bck images sequence and create a composition from it, where parameters are pixel squared, and 30 fps.
- Remove the first and last frames from the workspace to render
- [ctrl][m] to render the video that will be named Name_K_oflow_bck.avi
- Make the fwd optical flow
- Import Name_K_oflow_bck.avi in AfterEffect and create a new composition from it
- Apply Effect > Layers > Layers Mixer with parameters: Source: green, Target: green only, Check reverse
- Add again Name_K_oflow_bck.avi to the composition and apply Effect > Layers > Layers Mixer with parameters: Source: red, Target: red only, Check reverse
- Add a solid layer [ctrl][y] which color is 1 1 0
- Set Fusion mode to additive to all layers of the composition (you can check that the part of the animation that shouldn't move have the color 128 128 0).
- [ctrl][m] to render the video that will be named Name_K_oflow_fwd.avi
In our example we obtain (K=6):
| Cube_6_oflow_bck.mov (240 frames) |
| Cube_6_oflow_fwd.mov (240 frames) |